Confirming location
Tap the ‘Locate me’ icon in the bottom bar. Your location will be displayed as crosshairs (Fig. 1). If the phone fails to find your position, this may be because you are indoors, or in a position where the receiver cannot get a signal due to obstructions such as trees or buildings. Try moving out into a more open area. If you are unable to get a location, you can manually pan and zoom the map to the correct location.
Once you are happy with your location, tap the 'Create Incident' icon (map pin with a plus) and tap the exact location on the map where the fly-tipping incident is. If you are not happy with the placement of your point, simply press the 'X' icon to cancel and try again.
Adding incident detail
Tap on each box in turn (Type, Size, Land Type and Status) and choose from the drop-down menu (see Fig. 2). Scroll to the correct list item and tap to select it. These ‘descriptors’ align with a national standard and unfortunately cannot be changed.
Once all four boxes have been populated you can submit the incident, but there are also options to take photos, record additional notes and to end notify others by email.
Taking photos
It is recommended that you add photos for every incident. There are some minor variations in the process, depending on whether you use an Android or Apple phone. You can add photos when you first record the incident, or you can return to a pre-existing incident and take further pictures (for example, to show that it has been cleared).
Tap the 'Camera' button on the incident recording screen. If this is the first time that you have used the app it will ask for your permission to access the camera and storage - you must accept both of these requests. Take the picture and you will see a preview displayed (see Fig.3). Tap the ‘tick’ to accept or the cross to reject. You can take up to three pictures of each incident. Don’t worry about camera settings, the app will re-size photos to make them suitable for uploading.
It is advised that you do not capture images that include personal or sensitive information (e.g., car registrations, addresses, names etc.)
Adding notes
You can add notes to an incident, both when you record it and at any point afterwards. To add a note to an incident when you record it, simply tap on the notes icon (pencil) after you have filled in the type, size, land type & status fields. You can return to an incident and record further notes at any point after it is first recorded. It is advised that you do not add personal or sensitive information (e.g., car registrations, addresses, names etc.)
Notifications
Having recorded an incident, the system can send notifications to colleagues and contractors. Tap the bell icon and select the contacts you wish to notify. You can select one or more recipients from the list provided – this list is specific to your organisation. The recipients will receive an email when you save the record, or if you don’t have a connection, it will send it when you next have a Wi-Fi connection or phone signal. The email gives the recipient access to the incident details. This is most often used to arrange for the incident to be cleared. If your organisation has included external contractors (such as Biffa), then they will contact you prior to providing a quotation.
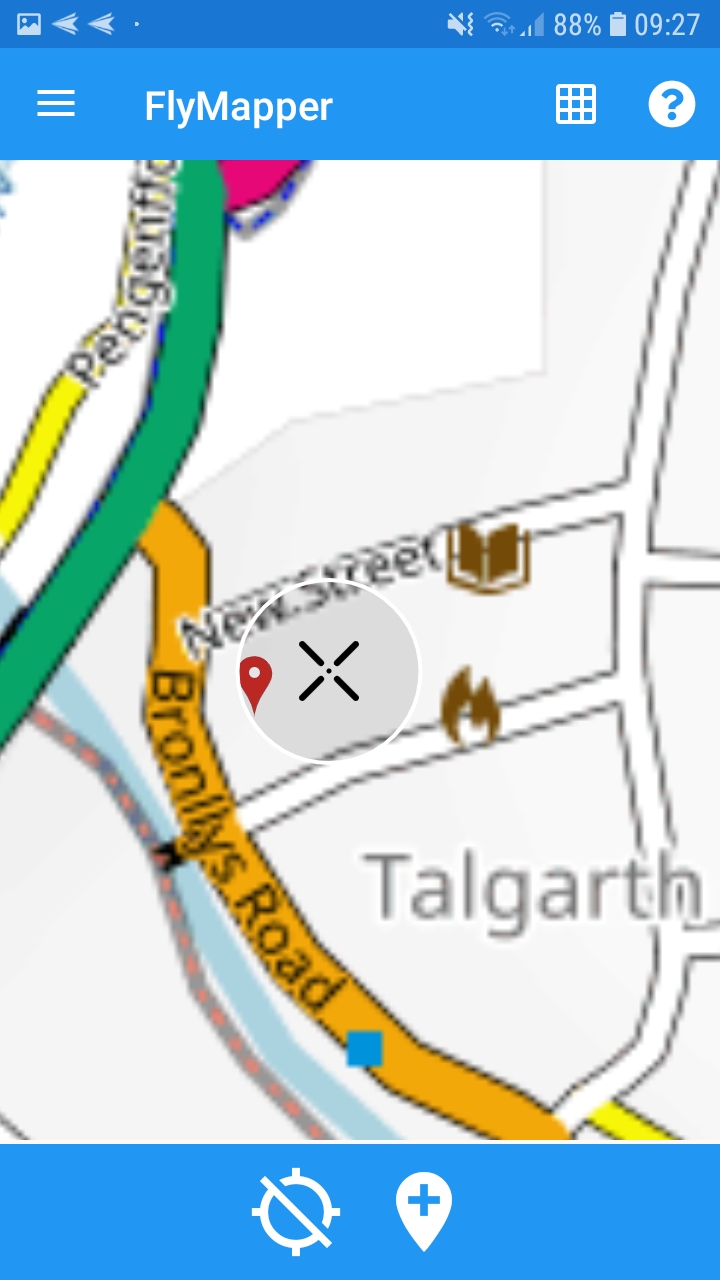
Fig. 1
GPS location
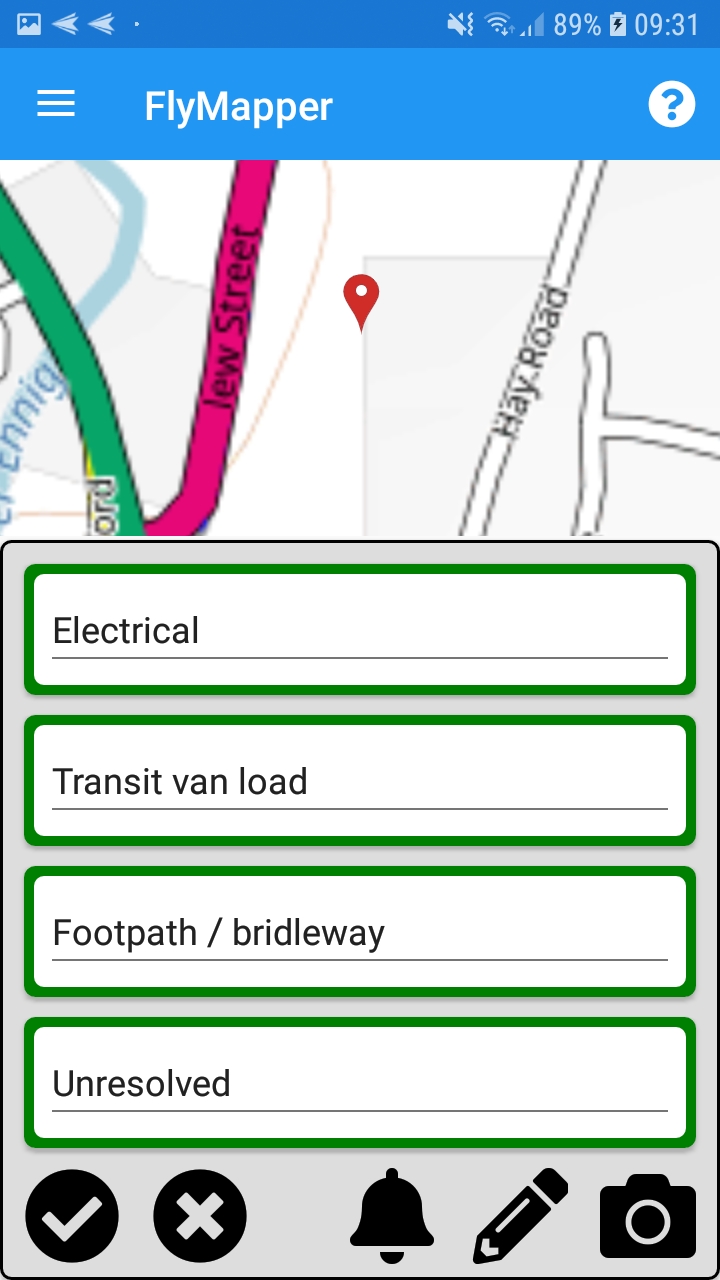
Fig. 2
Mandatory fields
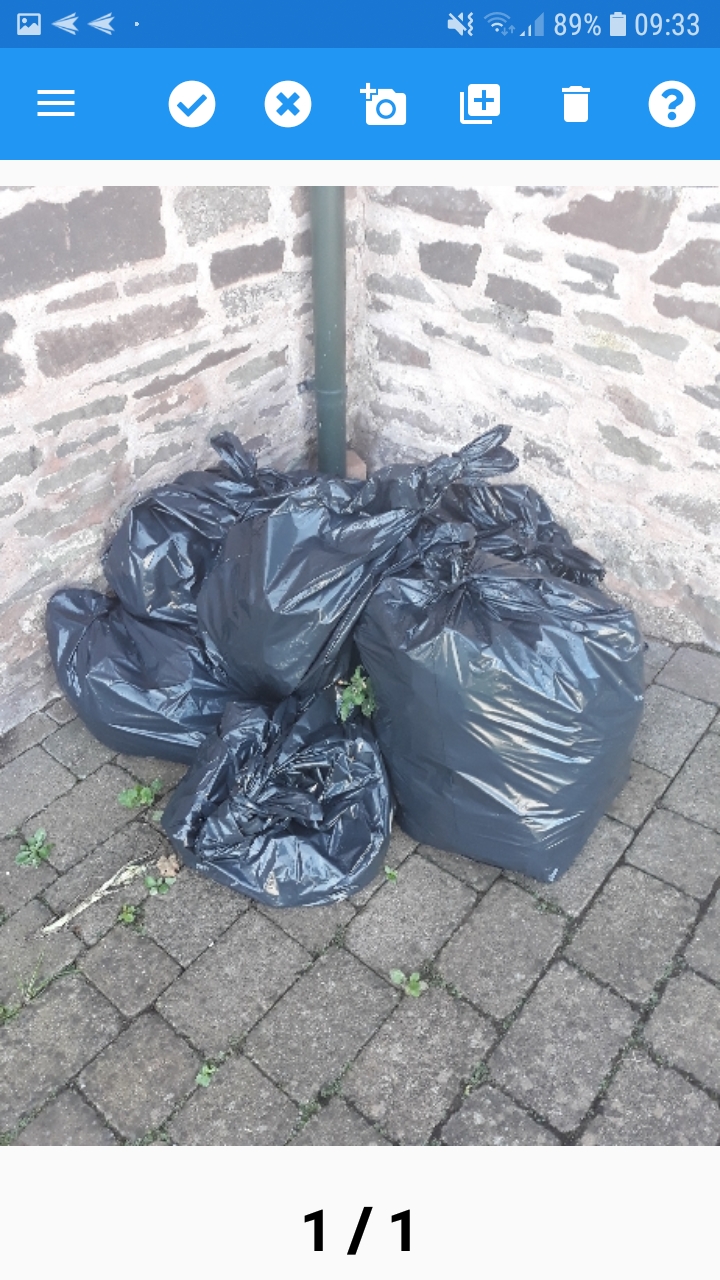
Fig. 3
Photo management screen